Showing posts with label Flatbreads. Show all posts

Sunday, August 20, 2017

SOLAR ECLIPSE BREAD - A CRUSTY SESAME LOAF FOR A RARE EVENT

Hier geht's zur deutschen Version dieses Posts


This month Mini Oven challenged fellow Fresh Loafers to create a special bread to commemorate the upcoming total eclipse of the sun. Spurred by astronomic ambitions I began to ponder how to go about this.

Just a new bread? Where was the connection to the total eclipse?

A two-toned dough? Once I baked a marbled rye bread and found its taste rather underwhelming.

Squid ink as a black dye? Not my cup of tea!

So it had to be a two-toned decoration. Black and white sesame seeds are in my pantry. Only a suitable recipe was missing. It couldn't be a loaf whose oven-spring would tear and destroy any decorative topping.

The answer was a flat bread that would spread more than rise.

I found a good starting point in Austrian baker Dietmar Kappl's Fladenbrot, tweaking it to suit my needs: with a long, cold bulk fermentation and the introduction of a little whole grain flour (I tried it with rye and emmer - both tasted great).

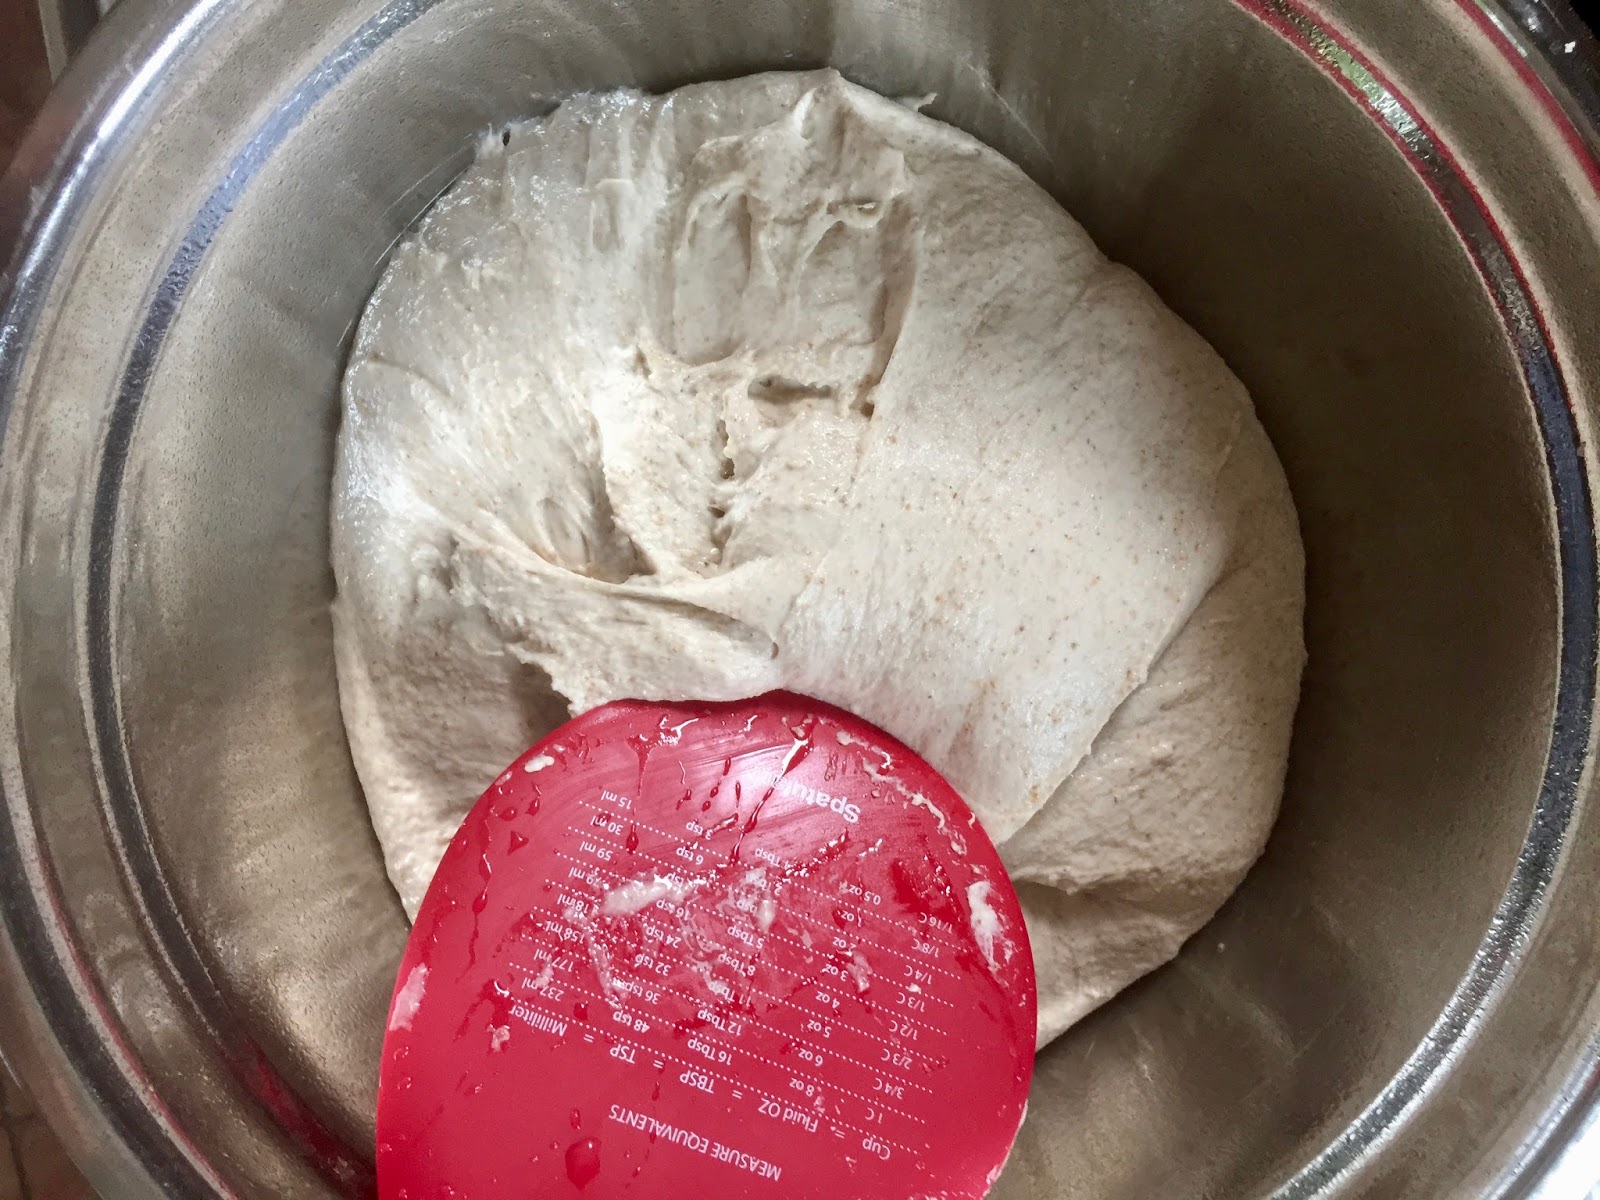
To emulate the eclipse I needed a ring-shaped utensil to press the outline of the moon into the dough. A large yogurt tub had just the right diameter (11.5 cm/4.5 inches).

We were so happy with my crusty, nutty flat bread that I baked it again, two days later, for my customers at A&B Naturals.

Baked again for my customers: Solar Eclipse Bread

SOLAR ECLIPSE BREAD  (adapted from Dietmar Kappl/homebaking.at)
(3 small breads, à 300 g)

Starter
25 g bread flour
25 g emmer flour (or other whole grain flour of your choice)
50 g water (lukewarm)
10 g recently refreshed and active starter (100% hydration)

Final Dough
110 g starter (all)
400 g bread flour
50 g emmer flour (or other whole grain flour)
325 g water, lukewarm
15 g olive oil
10 g salt
1.5 g instant yeast (or 3 g active dry yeast)

Decoration
black and white sesame seeds (or use poppy seeds instead of black sesame)

Specal tool: glass or plastic container with approx. 11-12-cm/4.5-inch diameter, like a large, empty yogurt tub (to imprint the outline of the moon).

DAY 1
In the morning: mix all starter ingredients. Cover, and leave for 4-6 hours at room temperature, or until a few tiny bubbles appear on the surface, and a teaspoon of dough floats in water (float test).

The Ankarsrum makes short work of kneading the dough

For the final dough, mix all ingredients about 1 minute at low speed until all flour is hydrated. Knead 1 minute at medium speed, let rest for 10 minutes (autolyse), then resume kneading for about 3-4 minutes, until dough pulls somewhat back from sides of bowl (or, for the Ankarsrum, from roller) (dough will be sticky).

Using wet bowl scraper, fold dough all around from sides to the center

Transfer dough to a lightly oiled bowl. Using wet (or oiled) bowl scraper, fold dough all around from sides of bowl to the center (about 8x).

Let dough rest for 10 minutes, then repeat the folding process 2-3 times at 10-minute intervals, until dough has developed enough strength and shows resistance to folding. It will still be a little sticky.

Cover bowl tightly with plastic wrap and place in refrigerator overnight (no need to de-chill).

After 2 sets of folds the dough looks quite smooth already

DAY 2
Preheat oven to 475ºF/250ºC, (including steaming device). Adjust rack to middle position.

Place cold dough (it will still be sticky) on lightly floured work surface. Dust top with a little flour, and divide into 3 equal sized pieces (about 304 g). Shape into rounds.

Divide dough in 3 equal pieces and shape into rounds

Place breads, seam-side down, on parchment lined baking sheet. Mist with oil (or mist plastic foil cover with oil) and cover with plastic wrap. Let rest for 45 minutes, or until they are a bit puffed and a dimple, poked with your finger into the dough, remains visible. 

The moon outline must be deeply imprinted into the dough

Lightly oil the rim of the glass or plastic tub. Press down deep (almost to the bottom) into the dough (breads will spread and flatten.)

I tried to create different "stages of the solar eclipse"

Mist breads with water. Using a teaspoon, carefully sprinkle with black sesame (moon shadow) and white sesame (sun.)

Bake breads, with steam,  for 10 minutes. Remove steam pan, and reduce temperature to 450ºF/230ºC. Bake for another 10 - 13 minutes, or until breads are golden brown and register at least 200ºF/93ºC.

Let breads cool on a wire rack. (When cooled, they can be frozen, wrapped individually in foil, and placed in a freezer bag. Let come to room temperature, mist with water and re-crisp in the oven at 375ºF/190ºC).

Baked solar eclipse!

BreadStorm users (also of the free version) can download the formula here:

And this is the perfect music for a Total Eclipse:

Sunday, July 15, 2012

MULTIGRAIN PITAS - TASTY POCKETS


Multigrain Pitas and Pains a l'Ancienne - I bake them every week

You can find an updated and completely re-written version of this post here.


"Can you bake pitas, too?" Kathryn, the lovely owner of A&B Naturals, asked me one day. Their usual supplier wasn't available anymore. I had never made them, so I said with conviction: "Yes!"

At least I knew where I could find a pita recipe!

In "Whole Grain Breads", one of my favorite baking books, Peter Reinhart has a recipe for whole wheat pitas. And whole grains are just what my customers at A&B prefer.

I started my first pita dough. No big deal, until I got to the shaping part. The pitas had to be rolled out  no thinner than 1/4 inch (6 mm), and to an 8-inch (20 cm) diameter. But my pitas already reached this thickness at 6 1/2 to 7 inches (16 to 18 cm.)

A high oven temperature is key to a pita's proper horizontal separation into two layers. This high temperature has to be maintained during the whole bake, from below as well as from above.

Many cheaper ovens don't heat up to the necessary 550ºF (280ºC.) Without that boost pitas can't produce the large gas bubble that creates a pocket. And without a pocket - no delicious filling!

A baking stone, or a rack lined with unglazed terracotta tiles (like I have), works best for keeping the  temperature stable, even when the oven door has to be opened several time during the baking process. And very hot stones make the best baking surface for pitas, too.

To reheat fast enough after each opening of the door I remembered Peter Reinhart's advice for baking pizza ("American Pie"), where the problem is the same: intermittently switching the oven to broil for a short time.

How many pitas can you bake at the same time? One batch of dough makes 8 (or 6, if you want larger ones.) Peter Reinhart says one at a time, but, of course, being a semi-professional this time consuming process didn't appeal to me too much.

After some trials, I found that I can put two at the same time in the oven. That's the maximum, with more it becomes very difficult to get them in and out of the oven without damage, and to keep control over their baking process.

One or two pitas can be baked at the same time
Of course, it takes a little bit of experience to slide the pitas into the oven without them folding over in one place, and to extricate them without nicking them with the paddle.

But it's not rocket science, a smart child can do it: Little Josh, our carpenter's son, thought it more fun to help with baking than reading his book!

Josh has good reason to be proud!
Slow fermentation gives this pita its excellent taste. It also softens the 7-grain mixture I substitute for some of the whole wheat flour.

I add an overnight bulk rise in the fridge, this is more practical for my schedule and, in my opinion, also improves the taste even more.

Though I often reduce the sweetener in Peter Reinhart's recipes, this whole grain bread needs the full dose.

We like our pita filled with grilled Halloumi cheese, tomato and lettuce - the way we had it in Girne/Kyrenia on Cyprus.

And how do my customers at A&B Naturals like them? They fly off the shelf so that I have to bake them every week!


MULTIGRAIN PITA  (8)

Soaker
170 g whole wheat flour
  57 g multigrain mixture (mine is made with cracked rye, wheat, barley, corn and oats, flaxseed, and millet)
    4 g salt
170 g water

Biga
227 g whole wheat flour
    1 g instant yeast
170 g water

Final Dough
All soaker and biga  (cut in pieces, they blend easier into the dough)
113 g whole wheat flour
    5 g salt
    5 g instant yeast
  28 g honey or agave nectar
  14 g extra virgin olive oil

DAY 1:
In  the morning:
In a small bowl, stir together all soaker ingredients until everything is hydrated. Cover, and leave at room temperature.

Place all biga ingredients in mixer bowl. Mix at low speed for 1-2 minutes, until all flour is hydrated. (Or stir with wooden spoon) Knead at medium-low speed (or with hand) for 2 minutes. Let rest for 5 minutes, then resume kneading for another 1 minute.

Place biga in oiled bowl, turn around to coat with oil, cover, and place in refrigerator (remove 2 hours before using.)

Evening:
Mix all final dough ingredients at low speed (or with hand) for 1-2 minutes, until combined. Knead at medium-low speed (or with hand) for 4 minutes (dough should be a bit tacky, but not sticky. If necessary, adjust with a little extra water or flour.)

Let dough rest for 5 minutes, then knead for 1 more minute. Transfer to oiled container, turn around to coat with oil, cover and place in refrigerator overnight. (Dough can be shaped cold the next morning.)

BAKING DAY:
Preheat oven as high as possible, at least to 550ºF (280ºC). Place baking stone in the upper third of oven.

Divide dough in 8 equal pieces (ca. 120 g), shape into rounds and place, seam side down, on parchment lined baking sheet or tray. Cover, and let proof for 45-60 minutes until rolls have grown to 1 1/2 times their original size.

Transfer rounds to floured work surface. Dust them well with whole wheat flour. With a few strokes, roll each piece to a 4-inch (10 cm) disk, and put them on a pile.


After all rolls are rolled out, turn pile around, so that the first disk is on top. Re-roll out disks so that they are 1/4-inch (6 mm) thick, with a diameter of 6-1/4 to 7 inches (16 -18 cm). Place (separately) on baking sheet or tray, cover, and let rest for 15 minutes.


Switch oven to broil 5 minutes before baking, so that stone gets really hot. Sprinkle peel*) with a little flour (not much is needed since pitas are fairly dry.)

Place 1 or 2 pitas on peel, and slide them onto hot baking stone. Watch them through the oven window! They start building large bubbles, and puff up like a balloon after ca. 2 minutes. Now they need only 20 seconds more to be done (they should stay soft.) Remove them with peel, and let them cool on wire rack.

Repeat with remaining pitas, always waiting for the oven to reheat again (switch briefly to broil after taking one batch out, if this takes too long.)

*) A wooden peel works best for sliding pitas into oven, but a metal one works better to remove them quickly - it has a sharper edge.

Pitas deflate quickly, once they are out of the oven
 
To store:
Multigrain pitas keep fresh for several days in a plastic bag. Normally a taboo for every bread aficionado, this is necessary to keep them soft, and prevent them from drying out.

They also freeze well, individually wrapped in plastic foil, then placed in a ZipLock bag.

(This recipe is an adaptation of Whole Wheat Pitas from Peter Reinhart's "Whole Grain Breads".

Submitted to Yeast Spotting