Showing posts with label World Bread Day. Show all posts

Monday, October 16, 2017

POLISH POTATO BREAD - A FAVORITE LOAF FOR WORLD BREAD DAY 2017


Hier geht's zur deutschen Version dieses Posts


Before my friend "The Rye Baker" Stanley Ginsberg went on his mission promoting European rye breads to American bakers, he had published another remarkable baking book: "Inside the Jewish Bakery - Recipes and Memories from the Golden Age of Jewish Baking".

I was among his test bakers. One of my test recipes was the Polish Potato Bread - Poylner Kartoffelbroyt - with its unusually high potato content an interesting recipe, but, as I soon realized, somewhat challenging in its preparation.
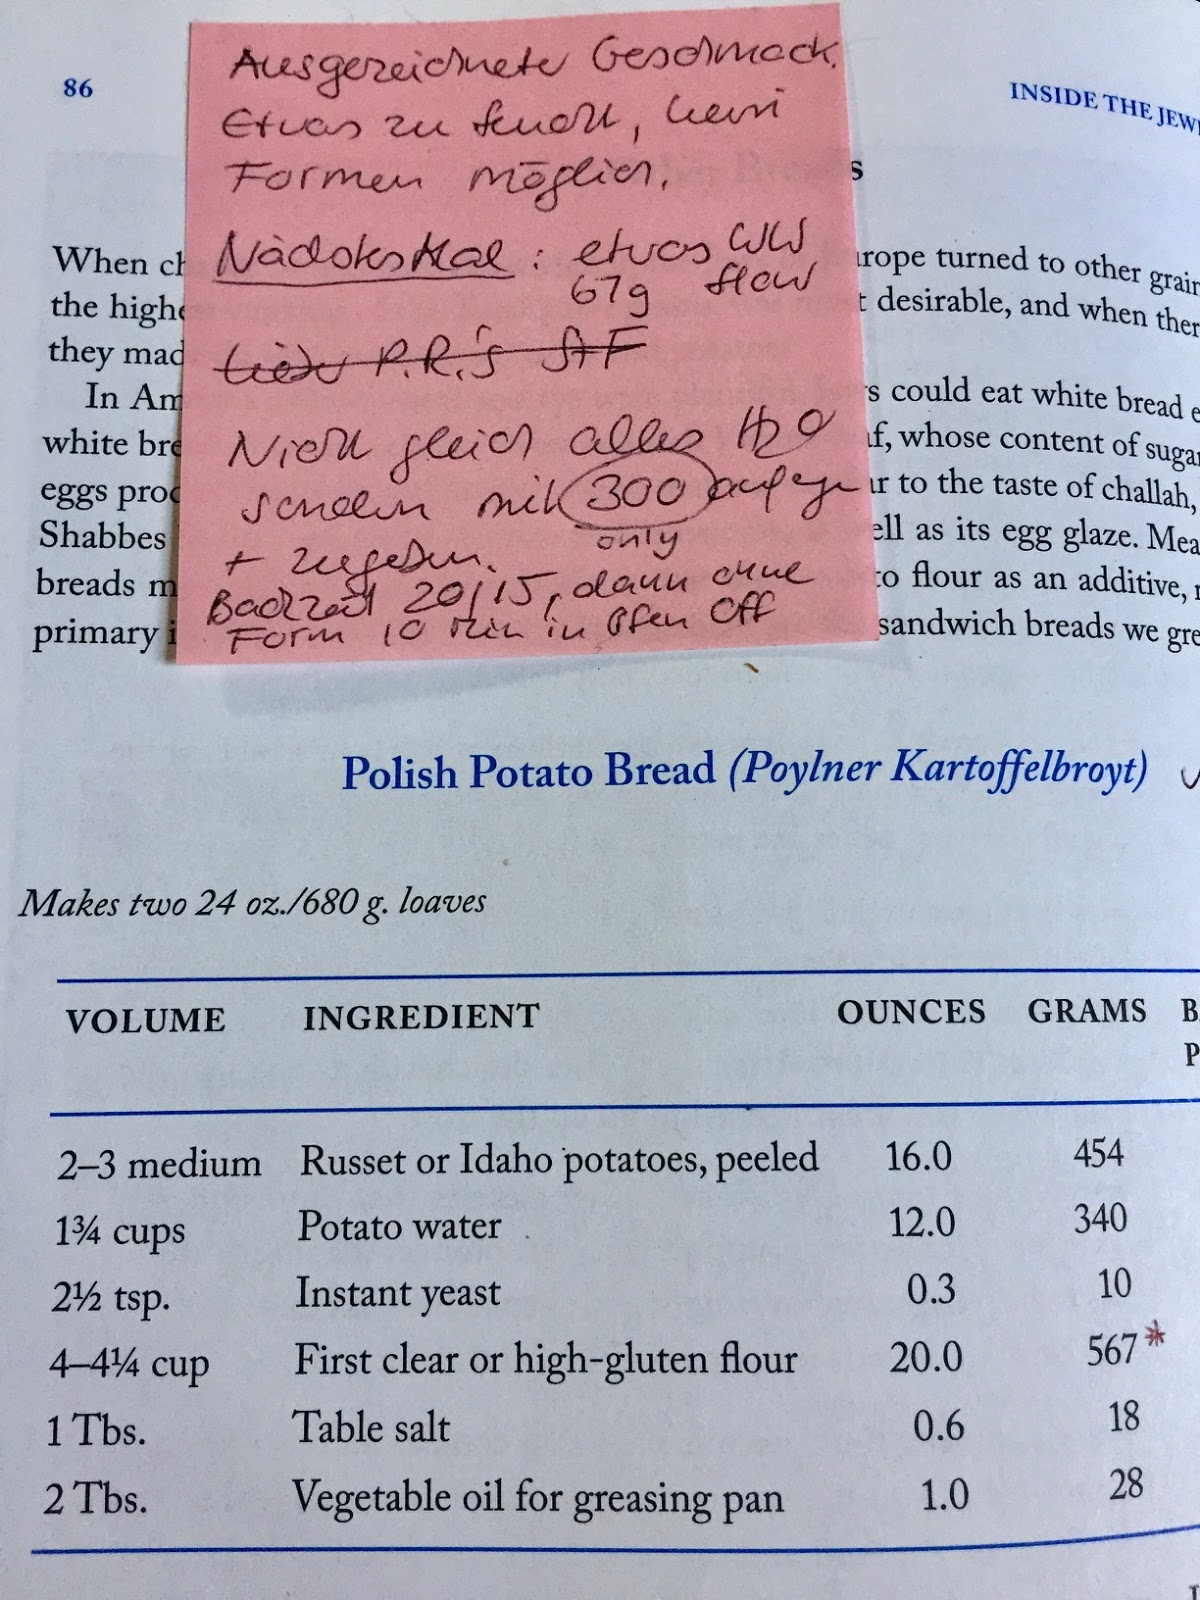
My first Post-It notes about the recipe

I had problems gauging the necessary water amount, first the dough seemed too dry, then turned sticky from the potatoes.

Not only that: Stanley had warned of dire consequences if you tried taming the gooey dough with more flour - it would turn into a brick!

Somewhat intimidated, I jotted down on my note pad: "No shaping possible".

In the end, somehow, I managed to get the sticky glob into the pan. Or I wouldn't have (later) rejoiced in its "excellent taste!"

At that time I had no whatsoever experience with stickier doughs. Meanwhile, I know better how to deal with the tricky potato bread - the extra flour needs to go on the work surface, under the dough, not into it! 

 Potato Bread tastes especially good when toasted

The excellent taste encouraged me to bake the Potato Bread again and again, while tweaking the recipe a little bit, especially withholding some of the water to (slowly) add it during the mixing later.

Allowing the dough to rest in the fridge overnight, I could reduce the amount of yeast a bit.

This favorite loaf really deserves to be presented at Zorra's World Bread Day 2017,

Golden brown and wonderfully moist

POLISH POTATO BREAD (adapted from Stanley Ginsberg's: "Inside the Jewish Bakery")

227 g/8 oz Russet or Idaho potatoes, peeled or unpeeled *), cut in chunks
170 g/12 oz potato cooking water
4 g/1 tsp instant yeast
250 g/8.8 oz first clear or high-gluten flour
34 g/1.2 oz whole wheat flour
9 g/0.3 oz salt
vegetable oil, for brushing

*) I like using local red potatoes with thin skins and don't peel those

Drain cooked potatoes and reserve 170 g of the cooking water

DAY 1
Cook potatoes in about 2 cups of unsalted water until soft, then drain, reserving 170 g/6 oz of the cooking water. Mash potatoes, and let both cool to room temperature.

Our local red potatoes don't need to be peeled

Mix mashed potatoes, flours, yeast, and 150 g/5 oz of the reserved cooking water at low speed, until all flour is hydrated, 1-2 minutes. (Dough might seem a bit dry at first, but potatoes will add more moisture).

In the beginning the dough seems relatively dry...


.... but soon becomes sticky from the potatoes

Add salt, and knead at medium-low speed for 10-12 minutes, very slowly adding remaining 20 g/2 oz water. Dough will soon become (and remain) sticky, but in the end pull back from sides of bowl. Don't add more flour, if you don't want to end up with a brick!)


Ready for its slumber in the fridge

Place dough in oiled container, cover, and place overnight in the fridge. (Using a square container helps with shaping the bread later.)

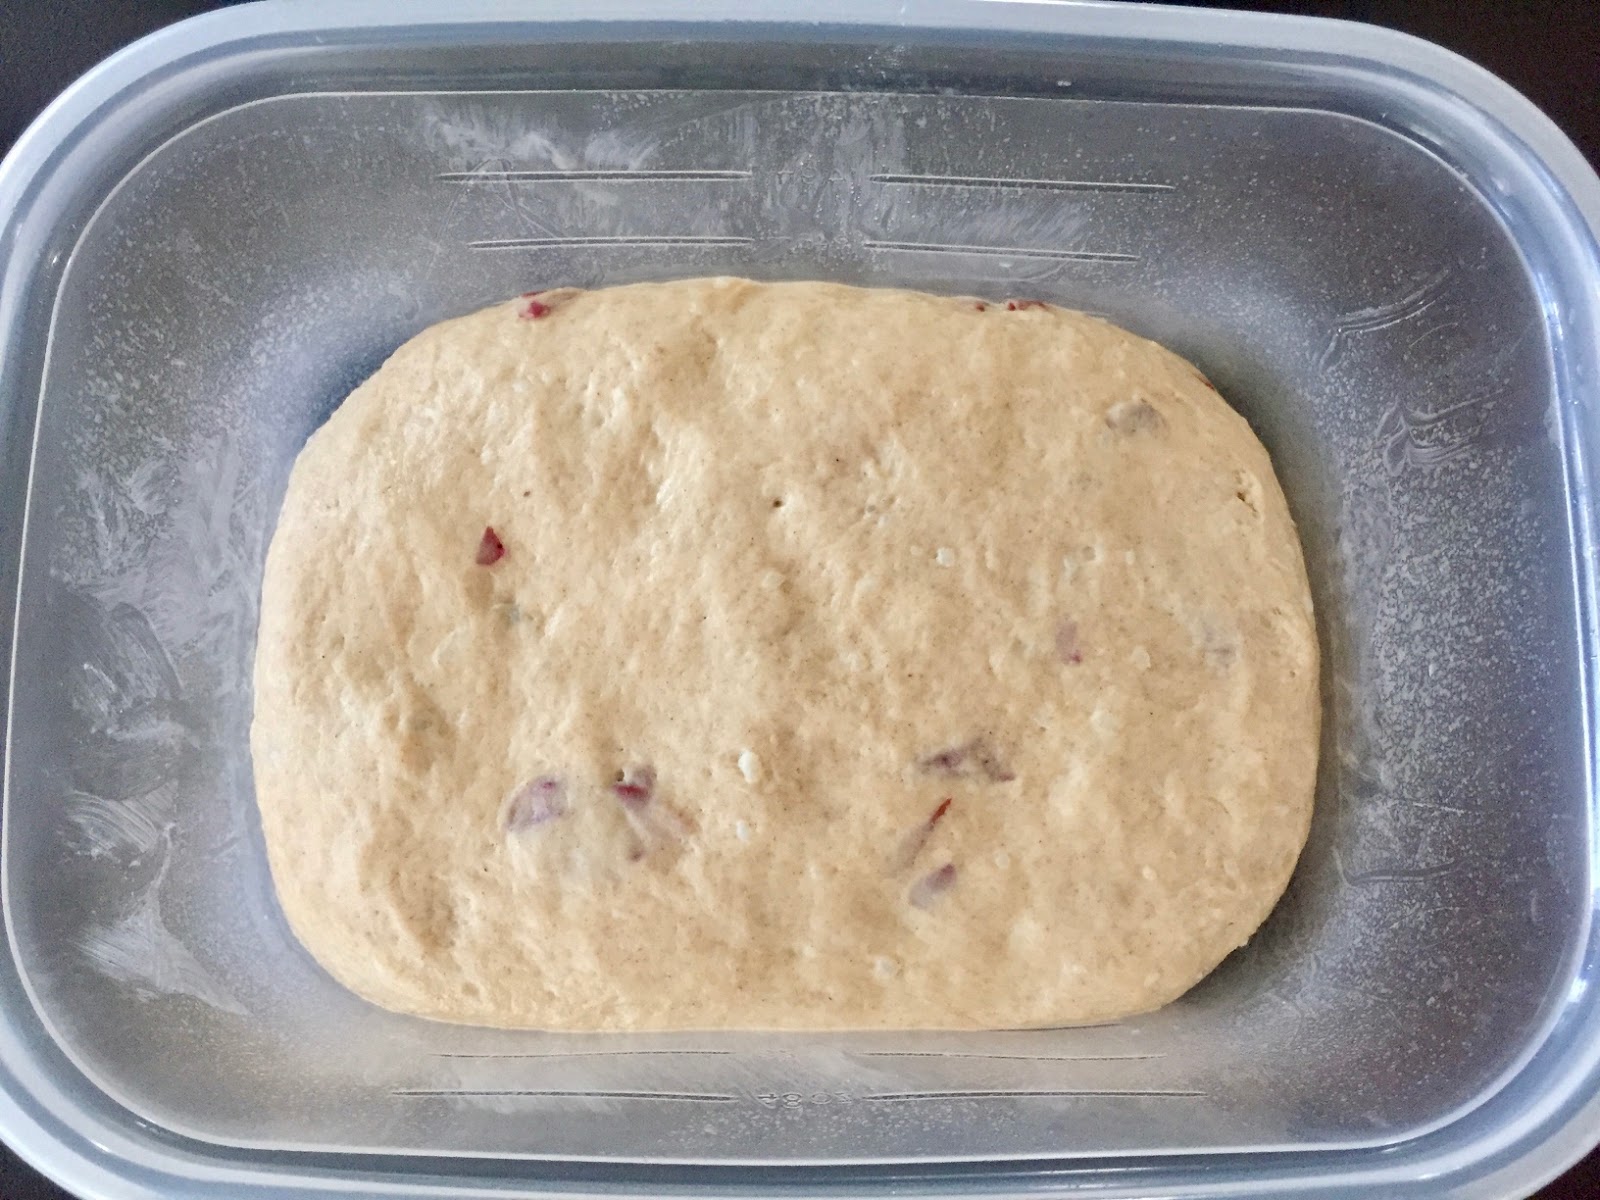
Overnight the dough has doubled in volume

DAY 2
Remove dough from refrigerator 2 hours before using. It should have doubled in volume, but will still be sticky. Grease a 9 x 5-inch/23 x 13 cm loaf pan.

The dough will still be sticky - flour your hands and bench knife!

Transfer dough to a lightly floured work surface. With floured hands (or bench knife), pat and push it into a rough rectangle. Lift one shorter end up and fold it over a little bit, pressing gently down to seal. Continue rolling up dough in the same way into a log.

Place loaf, seam-side down, in the prepared pan

Re-flour your hands, (or bench knife), and - this is the tricky part - lift the loaf cylinder up and place it, seam-side down, into prepared pan.

Brush top of loaf with oil, cover pan, and proof until top of dough has reached rim of pan, and a dimple, pressed with your finger, will not fill up at once (about 45 - 60 minutes).

Preheat oven to 375ºF/190ºC (no steam).  

Ready to be baked

Score loaf lengthwise (snipping with scissors works better for sticky a dough than a lamé.)

Bake bread for 20 minutes (no steaming), rotate pan 180 degrees for even browning, and continue to bake for about 20 minutes more, or until loaf is golden brown (internal temperature should be at least 195ºF/90ºC.)

Freshly baked Polish Potato Bread

If you like your crust to stay crispier, leave bread in switched-off oven, with door slightly ajar, for an additional 10 minutes to dry. Then turn loaf out onto rack and let it cool completely.

STORAGE: The bread keeps for at least 3 days, wrapped, at room temperature. It, also, freezes well. If you slice it before freezing it, you can take out single slices for toasting.

Baked with German flour type 1050, the crumb looks a little darker

BreadStorm users (also of the free version) can download the formula here:

Sunday, October 16, 2016

SWABIAN RYE FLOWER - SCHWÄBISCHES ROGGENBLÜMLE (WORLD BREAD DAY 2016)


Hier geht's zur deutschen Version dieses Posts


Just in time for Zorra's 2016 World Bread Day event, I received my copy of Stanley Ginsberg's The Rye Baker in the mail.

I met Stanley several years ago at the The Fresh Loaf forum, when he looked for test bakers for his first book, "Inside the Jewish Bakery". Though, at that stage, some recipes still were a bit rough around the edges (my husband complained about feeling like a guinea pig!), the book was well worth it, and his Onion Rolls are still a great favorite with my customers.

https://www.amazon.com/Rye-Baker-Classic-Breads-America/dp/0393245217/
Last year, I was happy to help with the translation of some German recipes Stanley considered for his newest book, devoted entirely to rye breads.

Leafing through the The Rye Baker, a cluster of spiral shaped savory rolls caught my eye. Not only because the "Swabian Rye Flower" looked so attractive - it was made with a laminated rye dough!

I had never even heard that such a thing existed.

The filling was easy: Trader Joe's Prosciutto (lightly smoked), and French Comté cheese were already in my fridge, and for the herb topping I snipped off fresh thyme in the garden.

The cottage cheese for the filling had to be rinsed and drained to make it, mixed with cream cheese, dry enough to emulate quark (what they would have used in Germany).


Filling ingredients
10 grams of instant yeast seemed a lot, I reduced the amount to 9 grams (and would try 8 next time), and it rose just fine.

Laminating the dough was a bit more challenging. The recipe requires vegetable shortening for the fat layer.

I had made croissants before, and if butter and dough are sufficiently chilled, the fat stays put during the rolling and folding process.

Soft shortening is more difficult to contain. I should have straightened the edges of the rolled dough with a knife before folding it. This step from croissant making could have prevented a raggedy seam where fat can be squeezed out.

Too late: on this day neither my hands, nor the rolling pin or work bench needed any more lubrication - Crisco took care of it! Fortunately, most of the shortening behaved, staying within the dough, and the fat leakage during baking was not more than to be expected.

Stanley chose shortening because of the water content of butter - shortening doesn't have any - that could make the sticky rye dough even stickier. His advice: if you want to laminate with butter, you should mix it with some flour (1 tbsp flour/200 g butter).

We loved the hearty rolls! The laminated rye layers came apart and had a satisfying crunch, and the filling was delicious. The pretty flower shape, though, prevented the crisping in those places where the rolls touched. Being a sucker for crispiness, I would sacrifice form for function next time, and bake the spirals separate from each other.

But I will definitely make the Swabian Rye Rolls again!

One of these tasty rolls are a meal!

SCHWÄBISCHES ROGGENBLÜMLE - SWABIAN RYE FLOWER (adapted from Stanley Ginsberg: The Rye Baker)

(7 Rolls)

Starter
102 g/3.6 oz white rye flour
93 g/3.25 oz water  (105ºF/41ºC)
5 g/0.2 oz rye mother starter

Final Dough
200 g/7.05 oz starter (all)
153 g/5.4 oz medium rye flour
245 g/8.65 oz all-purpose flour
218 g/7.7 oz cold water
10 g/0.7 oz salt
10 g/0.7oz instant yeast (I used only 9 g)
3 g/0.12 oz bread spices

Lamination
200 g/7.05 oz vegetable shortening, at room temperature (68-72ºF/20-22º)

Filling
125 g/4.4 oz dry cured ham (like country ham or prosciutto) (I used Trader Joe's Prosciutto)
125 g/4.4 oz onion, chopped
2 tsp vegetable oil, for sautéing
125 g/4.4 oz hard cheese (like Gruyere, Parmesan etc.) (I used Comté)
85 g/3.0 oz cottage cheese, rinsed and drained
42 g/1.5 oz cream cheese, softened
black pepper, to taste
salt, to taste (I didn't add any - ham and cheese had enough salt)
chopped parsley, dill, or chives, for topping (optional) (I used fresh thyme)

The rye starter is made with white rye


DAY 1 
3:00 - 6:00 pm:
For the starter, mix ingredients in small bowl until all flour is hydrated. Cover, and leave at room temperature overnight (ca. 15-18 hours - it's ready when small bubbles appear on the surface, and it has a spongy structure underneath.)

Sautéing ham and onion

For the filling, in medium skillet over medium heat, sauté ham and onion in oil, until onions are translucent. Let cool to room temperature.

In medium bowl, mix all three cheeses, until well blended. Stir in ham, onion, and season with pepper to taste. (I did not add extra salt). Cover, and refrigerate until needed.

Tasty ham and cheese filling

DAY 2
6:00 - 9:00 am:
For the final dough, mix ingredients at low speed (KA 2, dough hook)), until dough pulls back from sides of bowl, 5-6 minutes. Wrap dough in plastic and refrigerate for 1 hour.

For laminating, transfer dough to lightly floured work surface, keeping extra flour and a pastry brush at hand.  

Always lightly re-flour work surface as needed, to prevent sticking, and brush off any excess flour from dough before folding!

It's easier to roll out the dough under a piece of plastic wrap

1. Turn:
Roll out dough into a rectangle (45 x 20 x 1.25 cm/18 x 8 x 1/2 inches). Spread 1/2 of the shortening in an even layer over left 2/3 of dough (leave a 2 mm free rim along the sides, since the soft shortening spreads a bit when rolled). 

Starting from the right side, fold rectangle into thirds like a business letter. Using a bench knife, straighten and square edges, so that layers are neatly stacked. (You can put cut-off pieces on top of dough, so that they are rolled in at the next turn)

Spread shortening over 2/3 of dough - I should have left a small free rim

2. Turn:
Turn dough 90 degrees, re-flour work bench as needed, and repeat rolling, greasing (with remaining shortening) and folding. Wrap dough in plastic, and refrigerate for 20-30 minutes.

Wrap dough package in plastic and refrigerate for at least 15 minutes

3. Turn:
Roll out dough to the same size, and fold into thirds again.

4. Turn:
Roll out dough to a rectangle (60 x 20 cm/24 x 8 inches). With bench knife, straighten and square short edges as needed (to get an even seam). Fold rectangle into fourths, bringing left and right side towards center, the fold in half, like closing a book. Wrap in plastic and refrigerate for 20-30 minutes.

If I had remembered to straighten the edges, my folded dough package.....

.......could have looked like this (croissant dough) - no smearing of grease!

Roll dough out into a 20 x 45-50 cm/8 x 18-20 inches rectangle (1.25 cm/ 1/2 inch thick), short end facing you. With rolling pin, taper dough on near side (so that it's easier to seal the seam later).

Spread filling over 4/5 of the dough rectangle

Starting 2.5 cm/1 inch from far edge, spread filling evenly over ca. 4/5 of dough. Roll dough towards you into a log, like a jelly roll. Moisten free bottom edge with water, and press to seal.

Cut log into 7 slices with a sharp knife

Using sharp knife, cut log into 7 even slices. Place one slice in center of a parchment lined baking sheet, and arrange others around it so that rolls touch each other. Sprinkle with herbs. (If you want your rolls all around crispy, forgo the pretty flower shape and place them separately.)

Assembled "flower"

Cover, and proof rolls at room temperature for 20-25 minutes. They will not have grown much in size, but the spaces between the rolls will have shrunk a bit.

Preheat oven to 410ºF/210ºC, adjusting a rack in the middle, and place a steam pan on bottom or top rack (I use a broiler pan.)

Place rolls in oven,  creating steam by pouring a cup of boiling water into steam pan. After 5 minutes, remove steam pan, and continue baking for another 17-19 minutes (rotating baking sheet 180 degrees after half the baking time for even browning). Rolls should be medium brown, and the cheese melted and bubbling.

We loved the hearty rolls!

Serve warm or at room temperature.

STORAGE: The rye rolls can be frozen, individually wrapped in plastic, then placed in a freezer bag.
Thaw, then re-crisp for a few minutes at 400ºF. Or microwave frozen rolls, until halfways thawed (not fully!) then finish in the oven.

Reprinted with permission from "The Rye Baker" by Stanley Ginsberg, copyright © 2016. Published by W.W. Norton & Company

Thursday, October 16, 2014

WORLD BREAD DAY 2014 - PANE SICILIANO

Hier geht's zur deutschen Version dieses Posts


Zorra hosts the annual World Bread Day "to honor our daily bread" and show that baking bread can be easier than you think, and also great fun.

World Bread Day 2014 (submit your loaf on October 16, 2014)My contribution - I participate for the first time - is one of my all-time favorites: Pane Siciliano from Peter Reinhart's The Bread Baker's Apprentice.

One of the few all-white breads in my repertoire, I bake this often, my customers love it, and I always make some extra loaves for us.

Many Mediterranean countries have a tradition of sesame breads, like ring-shaped Turkish Simit - another favorite. Pane Siciliano, from Sicily, is rolled into an attractive S-shape.

Made with semolina flour, it has an extraordinary good taste, due to a preferment and a long rest overnight in the fridge.

The sesame topping provides an extra-nice crunch.

Pane Siciliano is no quick bread - plan ahead, start with the pâte fermentée 2 days before you plan to bake.

Fluffy inside and crunchy outside

BreadStorm user (also of the free version) can download the formula.

PANE SICILIANO  (adapted from Peter Reinhart's The Bread Baker's Apprentice)
(4 small breads) 

Pâte Fermentée
142 g/5 oz all-purpose flour
142 g/5 oz bread flour
5 g/0.18 oz salt
1 g/0.4 oz instant yeast
177 g/6.24 oz water

Final Dough
454 g/16 oz pâte fermentée (all)
227 g/8 oz semolina flour
227 g/8 oz bread flour
9 g/0.3 oz salt
3 g/0.1 oz instant yeast
29 g/1 oz olive oil
22 g/0.75 oz honey
235 g/8.3 oz water
10 g sesame seeds, for topping

DAY 1
For the pâte fermentée: mix all ingredients at low speed for 1 minute, until all flour is hydrated, then knead on medium speed for 4 minutes (the dough should be tacky, but not sticky, adjust with a bit more water or flour, if necessary (DDT: 77-81ºF/25-27ºC).

Pâte fermentée

Place dough in a lightly oiled bowl, roll it around to coat with oil, cover, and leave for 1 hour at room temperature, or until it has grown 1 1/2 times. Degas it lightly, and refrigerate it overnight (or up to 3 days).

DAY 2
Remove the pâte fermentée from the refrigerator 2 hours before using, to warm up. For an easier distribution in the final dough, cut it in several smaller pieces.

For an easier distribution in the dough, cut pâte fermentée in small pieces

Knead all dough ingredients at low speed for 1-2 minutes, until all flour is hydrated, then at medium speed for 6 minutes (DDT: 77-81ºF/25-27ºC). Like with baguettes, the dough should be supple, smooth, tacky, but not sticky. Adjust with a bit more water, if necessary (Beware: if the dough is too soft, the coils will be less distinct!)

Fermentation in square containers makes the shaping easier

Place the dough in an oiled container, turn around to coat with oil, cover, and leave it at room temperature for about 2 hours, or until it has doubled in size. (I like to divide the dough in 2 portions before the bulk fermentation.)

Line a baking sheet with parchment paper and sprinkle it with semolina flour.


Divide dough in 4 equal portions

Divide dough into 4 equal pieces. Shape first into bâtards, then baguettes. Take each piece at both ends and extend it to about 61 cm/24" length (this should be easy).

Shape pieces first into bätards....

....then into baguettes

Working from both ends, coil each baguette to form an S (take care that the seam stays underneath!)

Coil baguettes from both ends into an S-shape

Place breads on the prepared sheet pan, mist them with water and sprinkle them with sesame seeds, gently pressing the seeds a bit down to attach to the dough. Spray with oil spray.

Place breads on the semolina sprinkled baking sheet

Put the baking sheet in a large plastic bag - like a clean, unscented garbage bag - and place the breads for a slow rise in the refrigerator overnight.

In the plastic bag they go, and then in the fridge

DAY 3
Remove breads from refrigerator 2 hours before baking - they should have doubled in volume, if not, let them rise a bit longer (finger poke test: a dimple shouldn't fill up again, but remain visible!)

Preheat oven to 500ºF/250ºC, including a steam pan (I use a large baking pan, placed on the highest, or lowest tier.)


Over night nicely risen

Place breads into the oven, pour a cup of boiling water in steam pan, and reduce temperature to 450ºF/220ºC.

Bake for 10 minutes, then remove steam pan, and rotate baking sheet 180 degrees for even browning. (If some of the breads stick together, separate them now.)

Continue baking for another 10 minutes, or until breads are golden brown, and register  200-205ºF/93-96ºC on an instant thermometer. Let breads cool on a wire rack.

Pane Siciliano

STORAGE:
Pane Siciliano can be easily frozen, wrapped in plastic foil and placed in a freezer bag. To re-crisp, spray thawed loaf with water and bake for about 7-10 minutes in a 375ºF/190ºC oven.

My delivery basket: Pane Siciliano, multigrain pitas and rustic baguettes

Submitted to YeastSpotting